


Want the Perfect Application?

Best foundations to use:
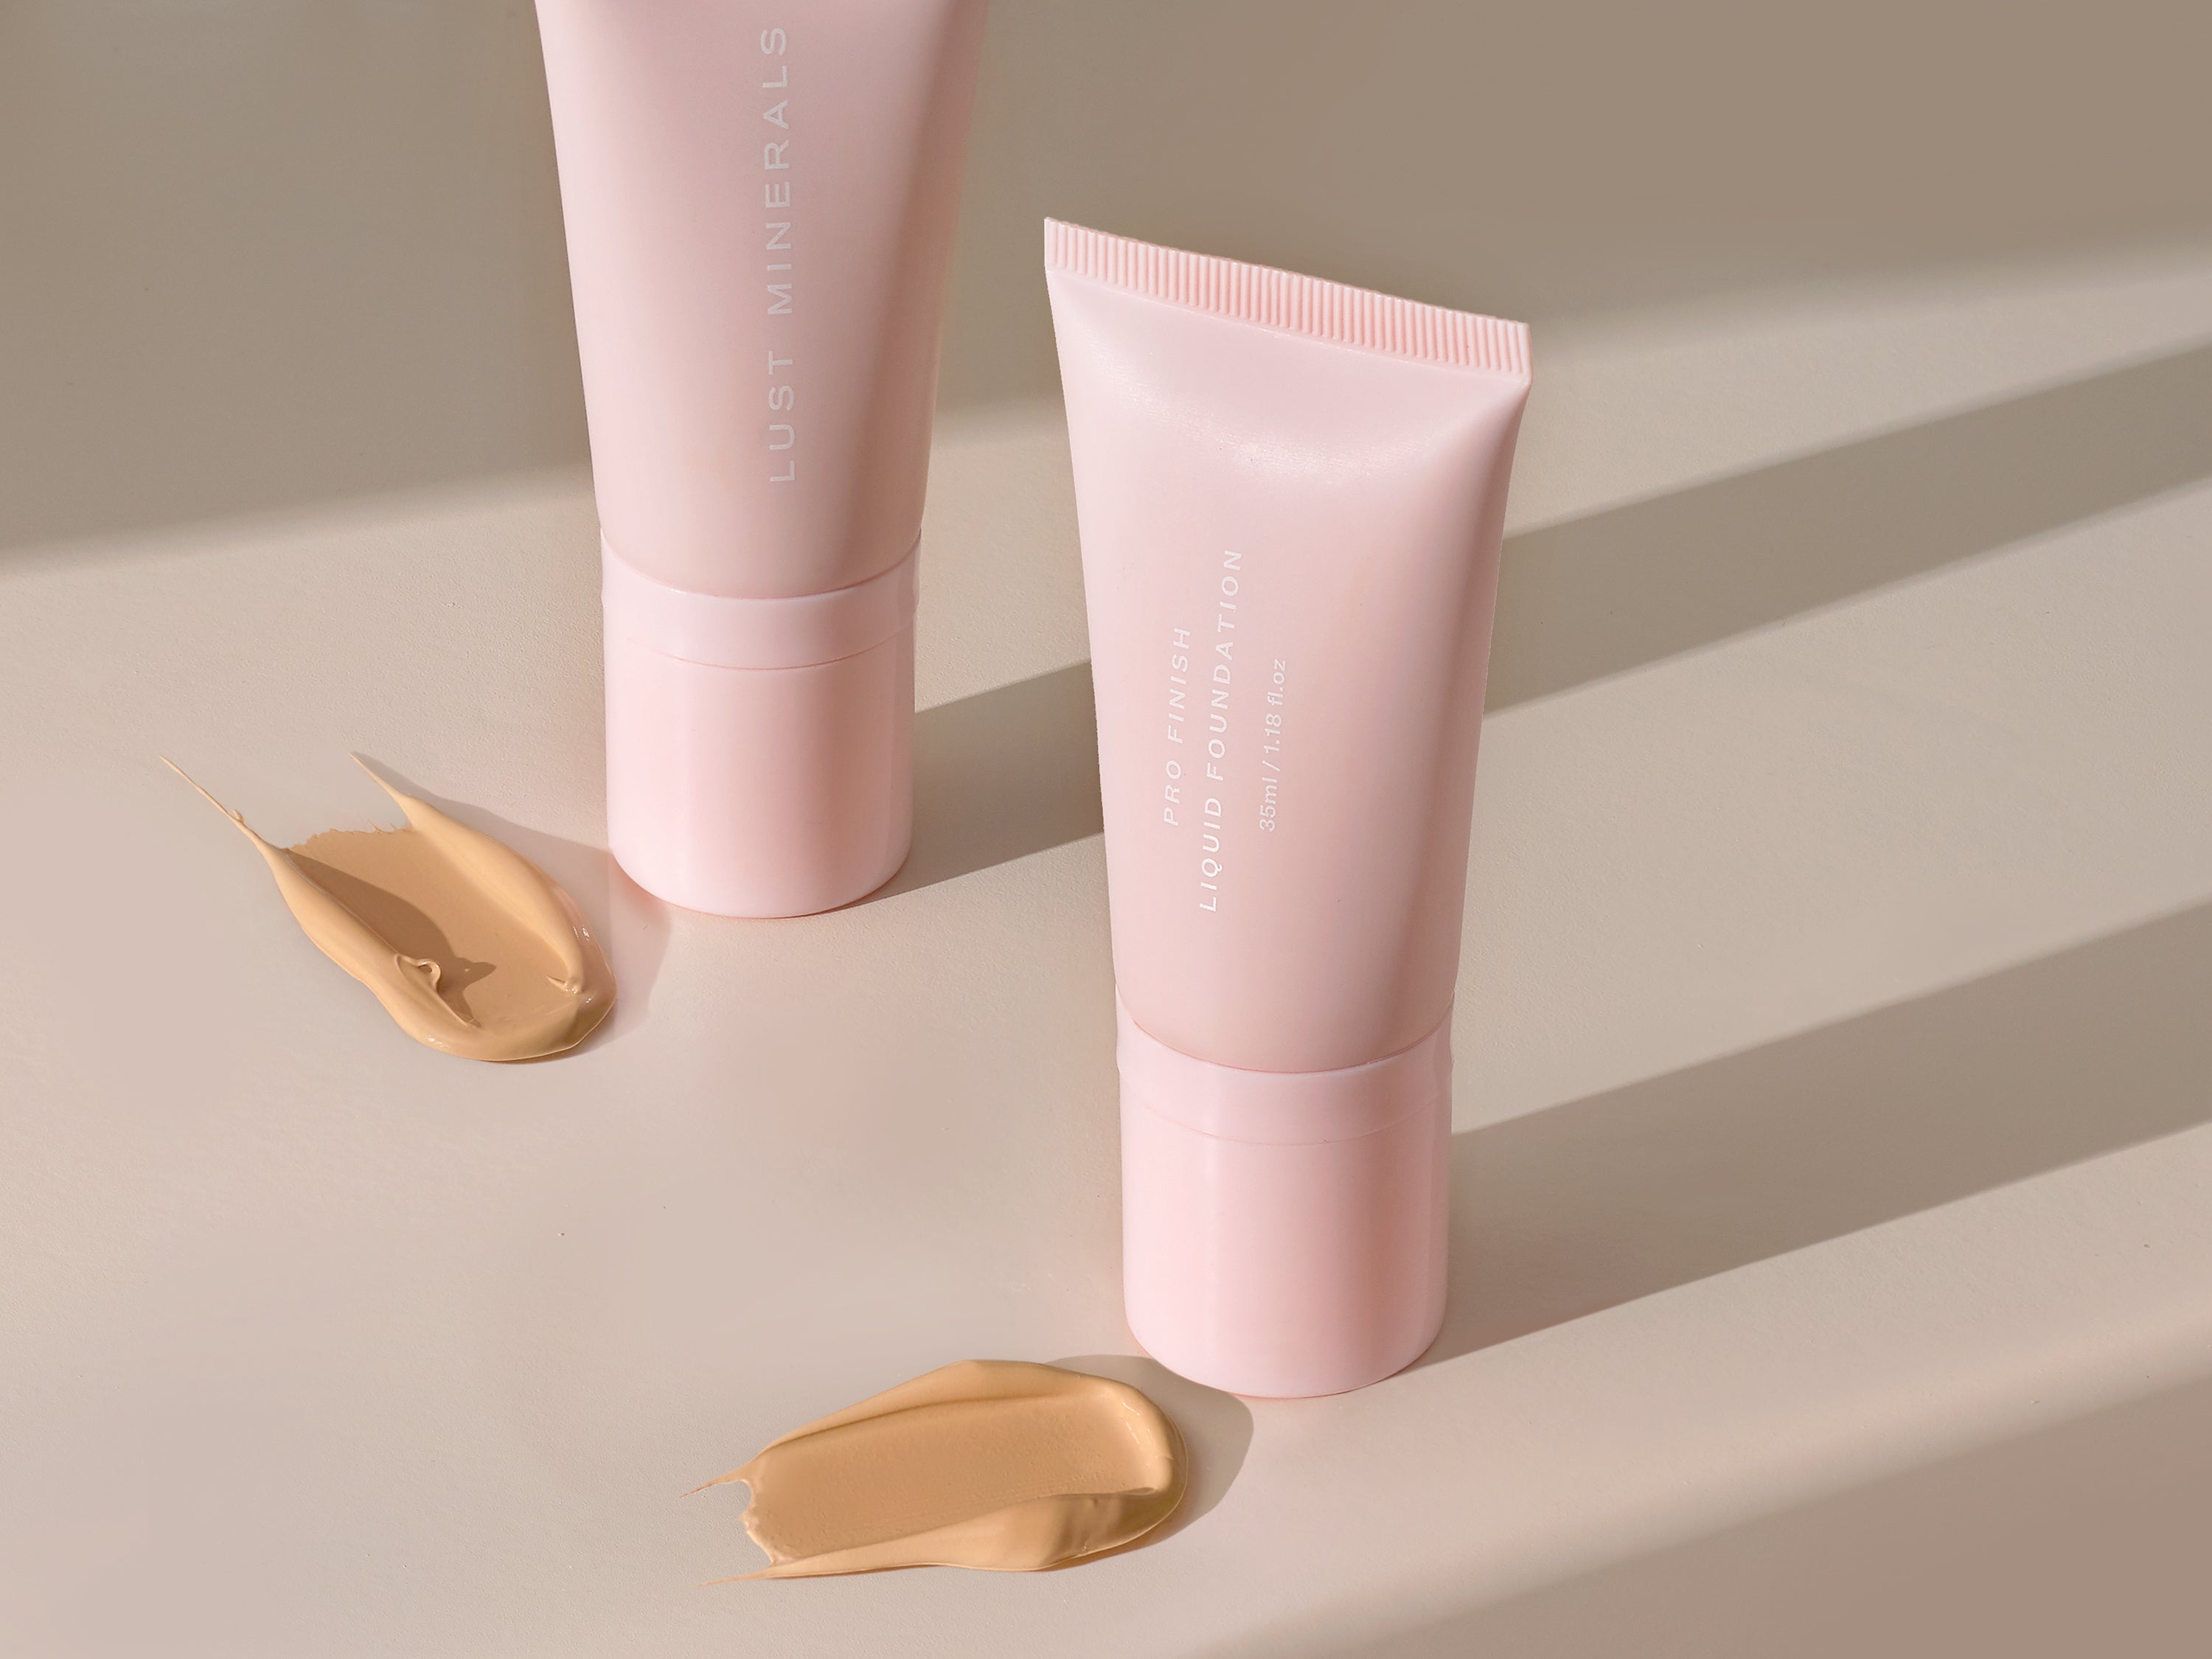
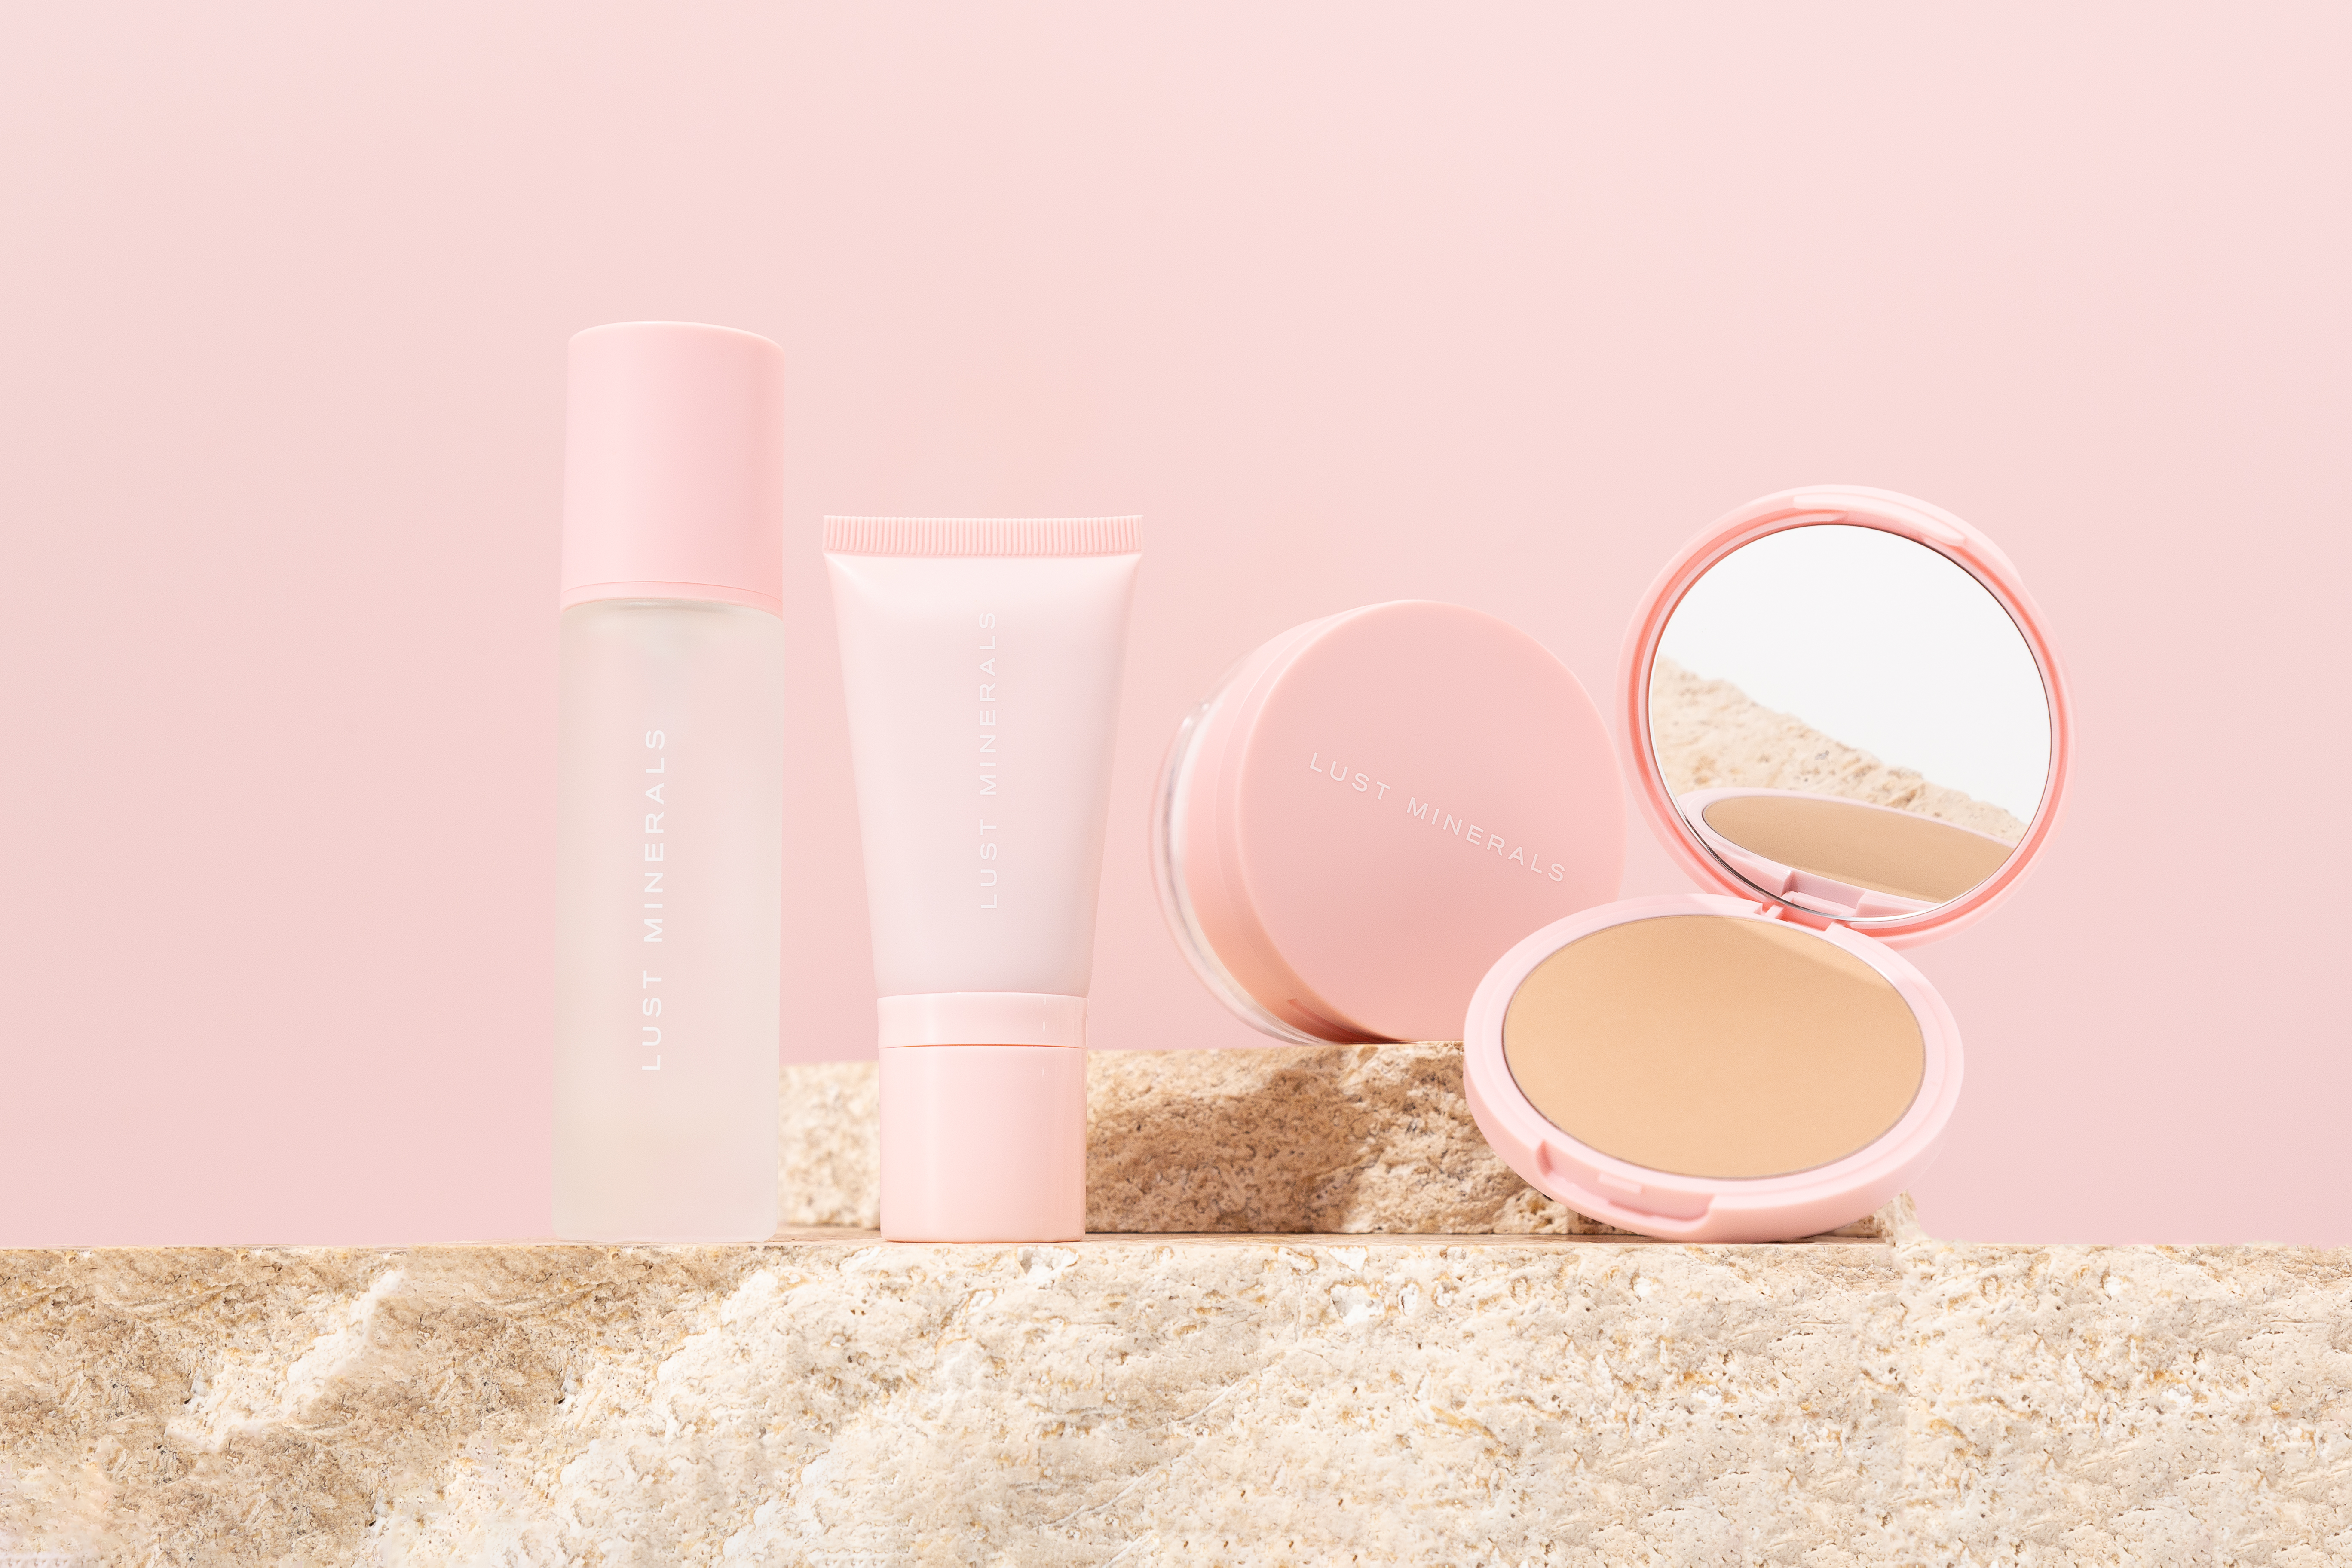
- Smooth Mineral Glow - Liquid Foundation
- Mineral Pressed Foundation or Mineral Loose Powder Foundation
Best Tools to use:
- Rounded Blending Brush
- Kabuki Brush - (For Mineral Powders ONLY)
- Clean Fingers

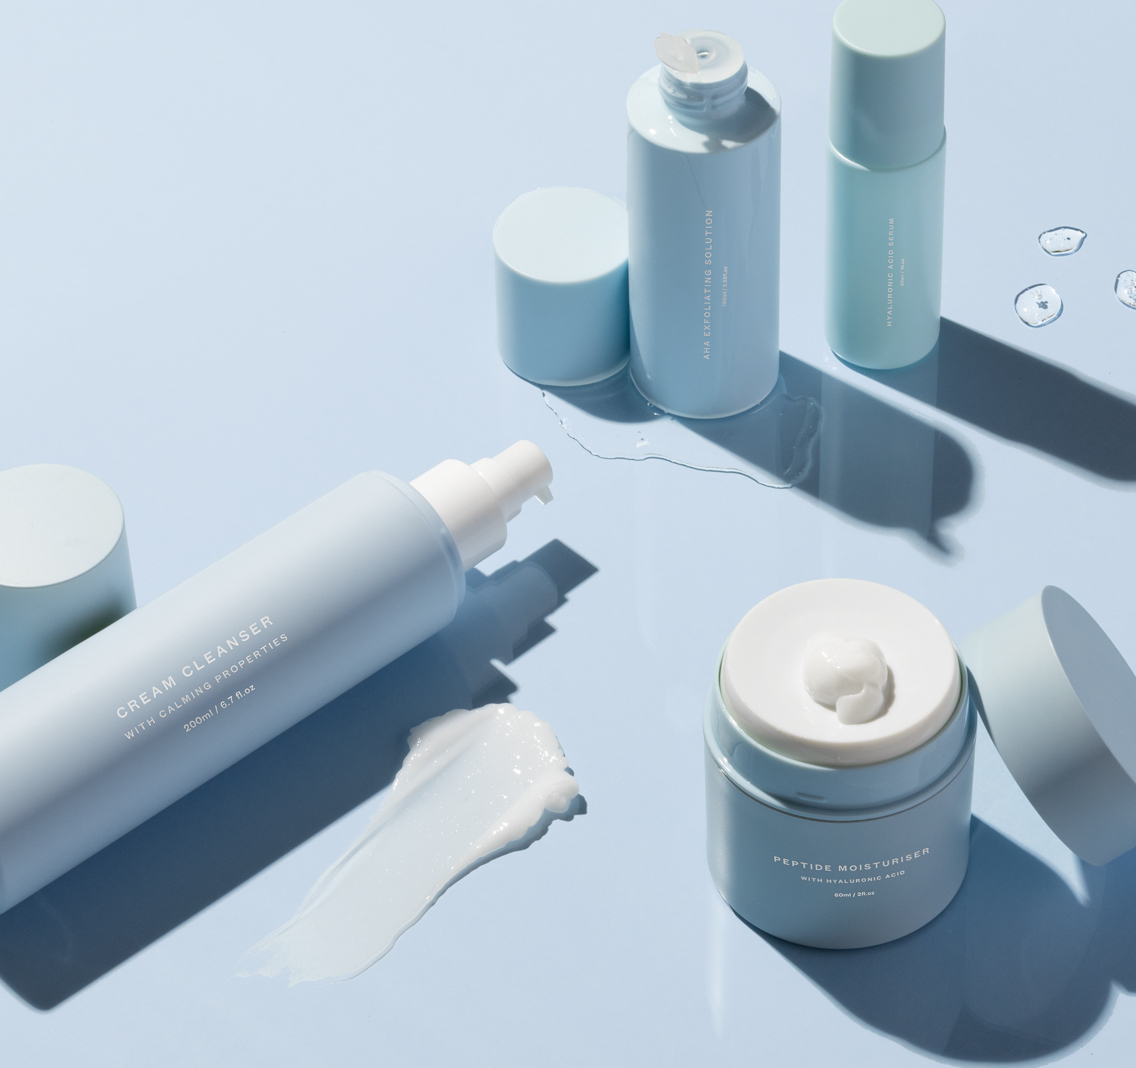
Step 1: Cleanse using a cleanser (essential)
Step 2: Apply your Serums (see Below) / Moisturiser
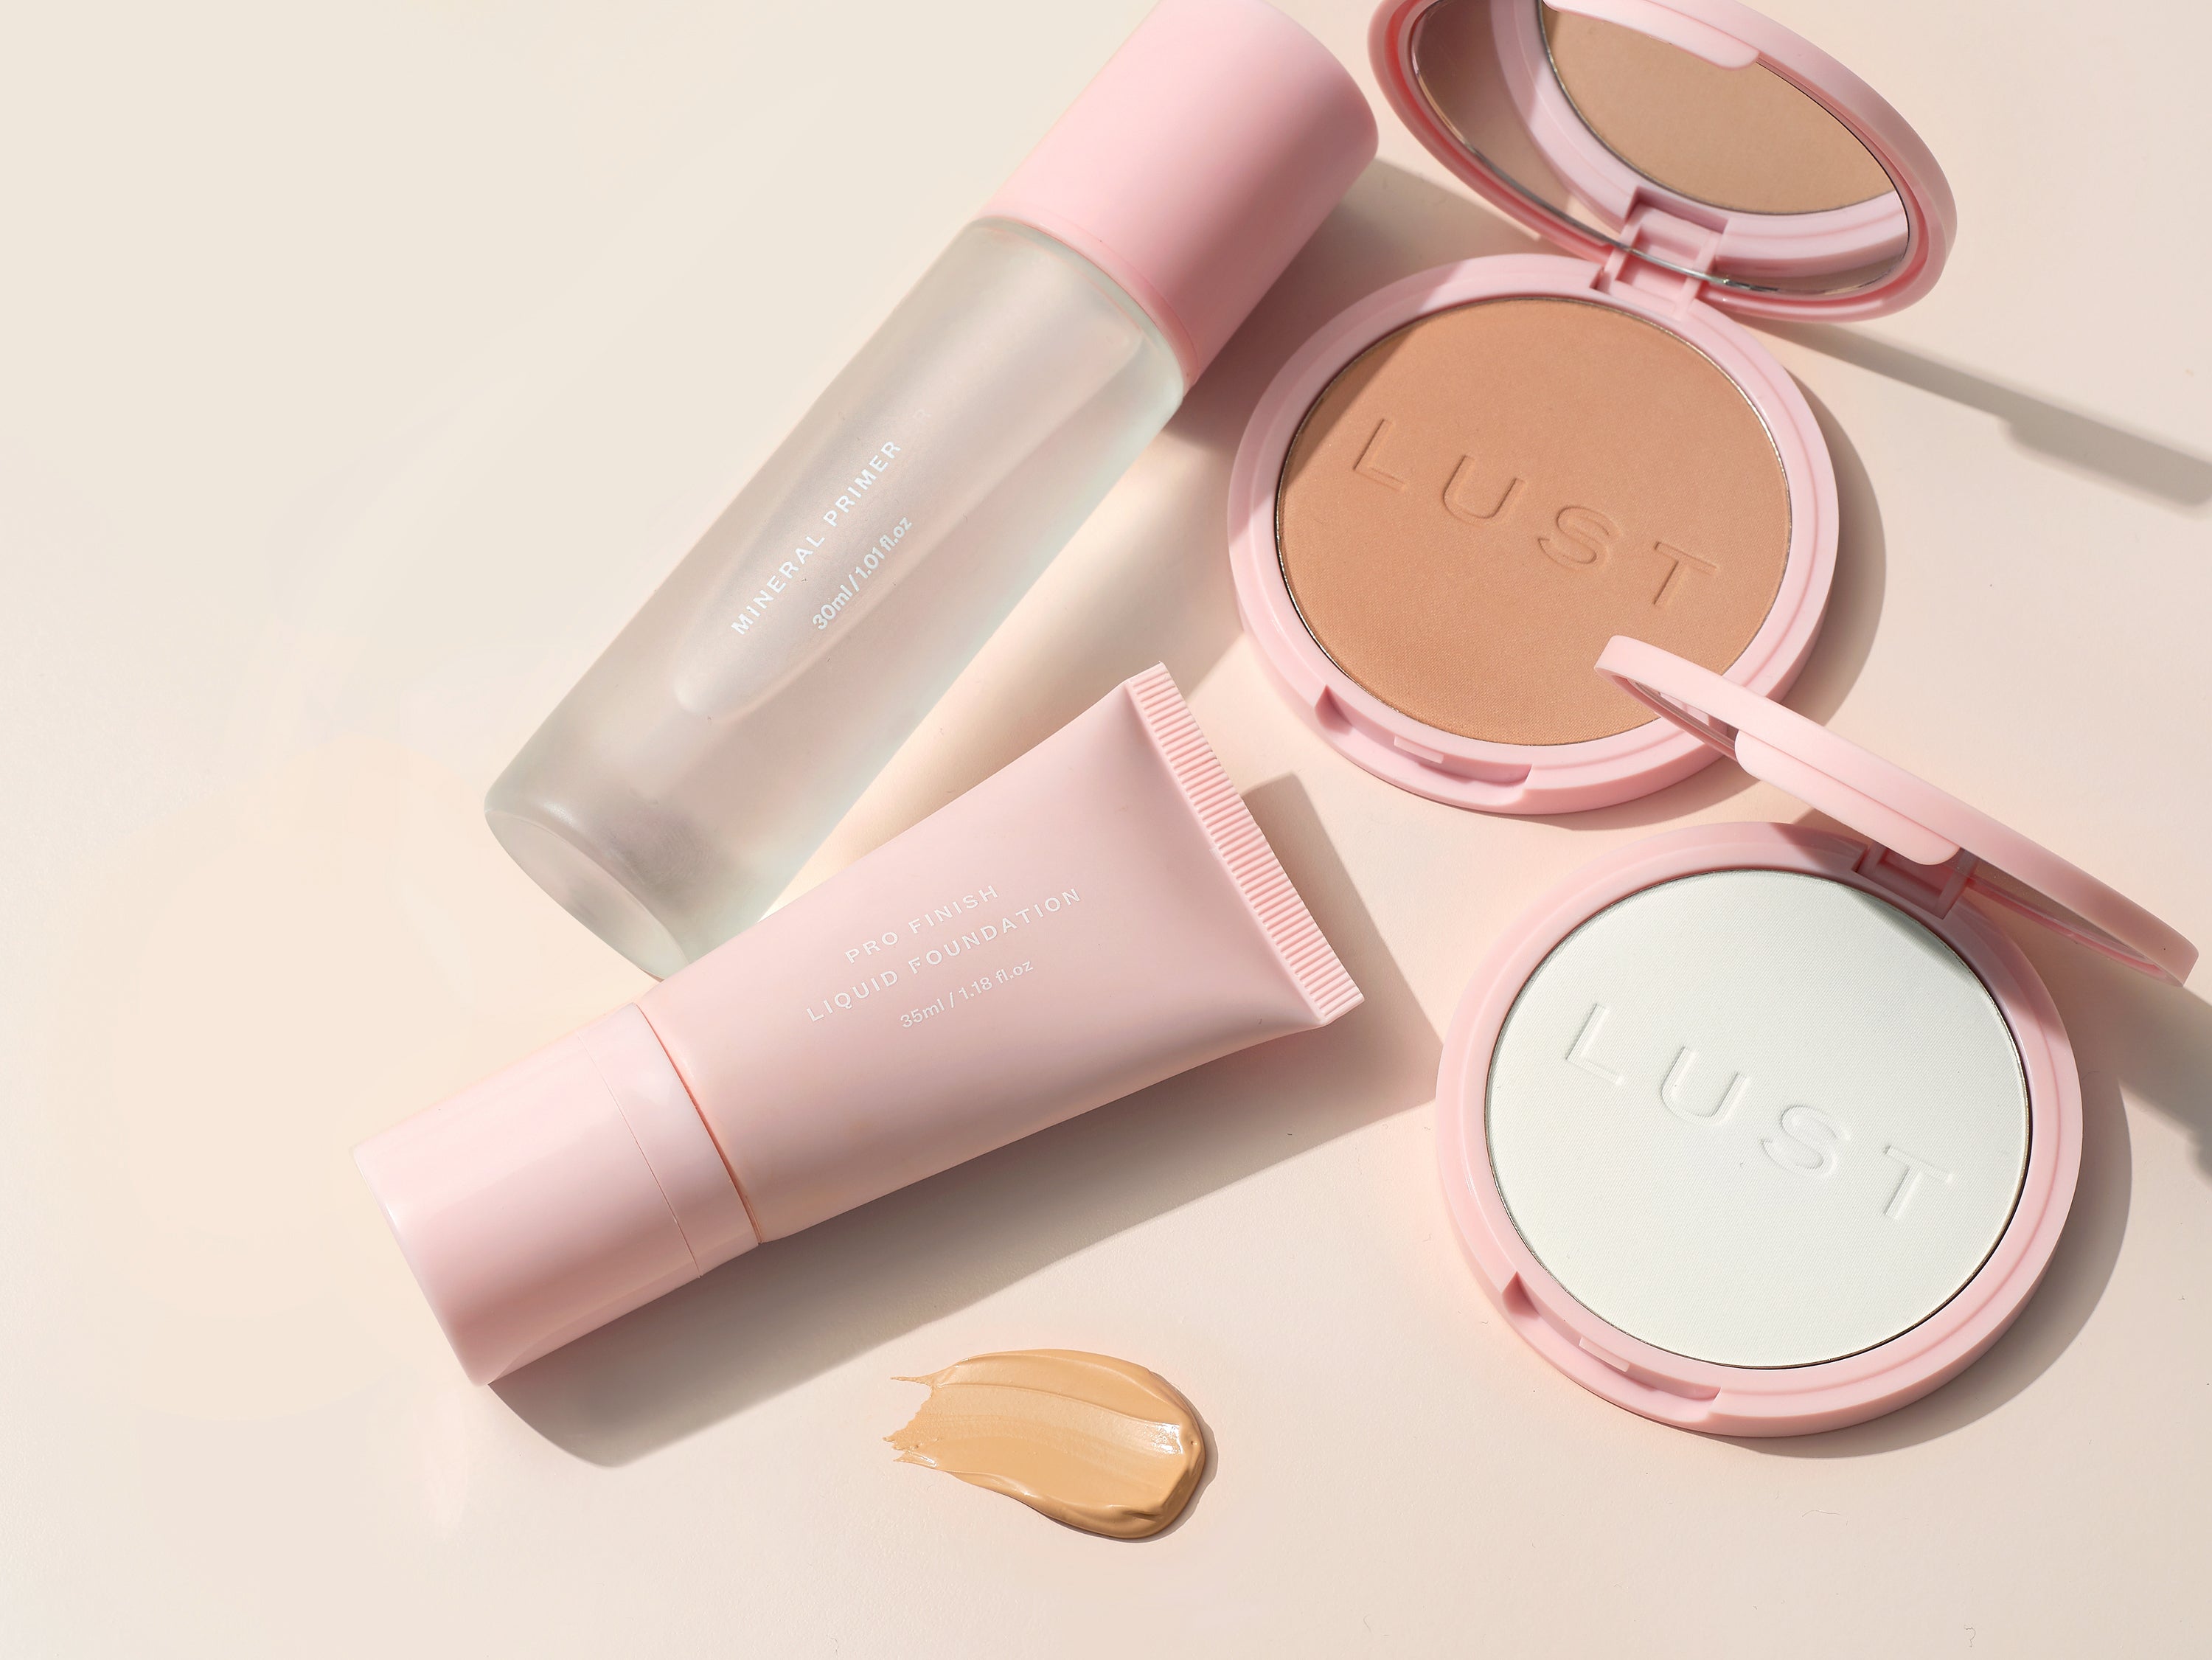
Step 3: Prep using your Lust primer of choice (Mattifying Gel - Green or Mineral Primer - Clear). Apply your primer as you would a moisturiser and work in until you feel it get slightly tacky. Then you are ready to start applying your liquid foundation of choice.
Step 4: Fingers- When using your fingers, apply as you would a moisturiser. Making sure you work it into the skin, so the product isn't sitting on the surface of your face.
Brush- When using the rounded blending brush. Split your face into 4 sections. Grab enough product for your 1st section and start working it in. Starting from the jaw line and working your way up, using pressing motions. This will ensure the product is getting pressed into the skin and not sitting on the surface. You want to make sure you have stopped blending before your foundation has started to dry, as this can cause a balling effect or patchiness. Basically girl blend, blend, blend. But there is such a thing as over blending, so make sure you stop yourself in time.
Press over any edges and around your nose with your fourth finger
Step 5: Set using the HD setting powder and dust over your face. Apply a little extra to your naturally high movement areas
( this will ensure it sets your base and doesn't move)


Best foundations to use:
- Mineral Pressed Foundation or Mineral Loose Powder Foundation
- Smooth Mineral Glow Foundation (only can achieve when used with the Mineral powder over top)
- Pro Finish Foundation
- Stick Cream Foundation
- BB Cream Foundation
Best Tools to use:
- Pro Blender (must be used damp ONLY)
- Rounded Blending Brush
- Kabuki Brush (For Mineral powders only)

Step 1: Cleanse using a cleanser (essential)
Step 2: Apply serums (see below) / Moisturiser
Step 3: Prep using your Lust primer of choice (Mattifying Gel - Green or Mineral Primer - Clear)
Apply your primer as you would a moisturiser and work in until you feel it get slightly tacky. Then you are ready to start applying your liquid foundation of choice.
Step 4: Pick up either your damp pro blending sponge or rounded blending brush and Lust Liquid Foundation of choice. Squeeze out a pea size amount of product for your 1st section. Starting from your jaw line working your way up the face, using pressing motions to work your product into the skin. We recommend getting fresh product out for each section, that way you can ensure your liquid hasn't started to dry prior to application.
Lightly press round any edges and round your nose with your fourth finger.
Step 5: This step is where your extra coverage and SPF will be applied, if required.
Now is the time to grab your pressed or loose mineral powder and your kabuki brush.
Swirl your Kabuki brush into your Mineral powder, tapping off the excess product and start application, by PRESSING into your skin. We want to press press press into one section for a good 10 seconds, to really ensure the product binds well to your skin. Then move on to your next section. Being sure to avoid any swirling motions, as this will move any liquid we have just worked so hard to get looking flawless, it can also cause patchiness.
Key in this step is to remember to use a PRESSING motion ONLY.
Step 6: Set using the HD setting powder and dust over your face. Apply a little extra to your naturally high movement areas.
( this will ensure it sets your base and doesn't move)


Best foundations to use:
Best Tools to use:
- Pro Blender (must be used damp ONLY)
- Rounded Blending Brush
- Kabuki Brush (For Mineral powders only)

Step 1: Cleanse using a cleanser (essential)
Step 2: Apply your serums (see below) / Moisturiser
Step 3: Prep using your Lust primer of choice (Mattifying Gel - Green or Mineral Primer - Clear)
Apply your primer as you would a moisturiser and work in until you feel it get slightly tacky. Then you are ready to start applying your Lust liquid foundation of choice.
Step 4: Pick up either your damp pro blending sponge or rounded blending brush and Lust Liquid Foundation of choice. Squeeze out a pea size amount of product for your 1st section. Starting from your jawline working your way up the face, using pressing motions to really work your product into the skin. We recommend getting fresh product out for each section, that way you can ensure your liquid hasn't started to dry prior to application.
(For this step we recommend splitting your face into 4-6 sections)
Lightly press round any edges and round your nose with your fourth finger.
Step 5: This step is where your extra coverage and SPF will be applied. Now is the time to grab your pressed or loose mineral powder and your kabuki brush. Swirl your Kabuki brush into your Mineral powder, tapping off the excess product and start application, by PRESSING into your skin. We want to press press press into one section for a good 10 seconds, to really ensure the product binds well to your skin. Then move on to your next section. Being sure to avoid any swirling motions, as this will move any liquid we have just worked so hard to get looking flawless, it can also cause patchiness.
Depending on how full you like your coverage, you can add 1- 3 layers of your Mineral powder.
Key in this step is to remember to use a PRESSING motion ONLY.
Step 6: Set using the HD setting powder and dust over your face. Apply a little extra to your naturally high movement areas.
( this will ensure it sets your base and doesn't move)


Application when using the Pressed or Loose Mineral Powder only

Step 1: Cleanse using a cleanser
Step 2: Apply your serums (see below) / Moisturiser
Step 3: Prep using your Lust primer of choice (Mattifying Gel Primer - green or Mineral Primer - Clear).
Apply your primer as you would a moisturiser and work in until you feel it get slightly tacky. Then you are ready to start applying your foundation. You can also use our rejuvenation oil in this step if you have a dry skin type only.
Step 4: Tip some product into the lid of the jar and Swirl your kabuki brush into the powder and tap off the excess.
Step 5: Start applying using swirling motions starting from your jawline working your way up. Grab more product for each section. Make sure you are working it into the skin enough, so the minerals have time to bind to your natural oils and are not sitting on the surface on your face.
Step 6: Set using the HD Setting Powder and dust over your face. Apply a little extra to your naturally high movement areas
( this will ensure it sets your base and doesn't move)


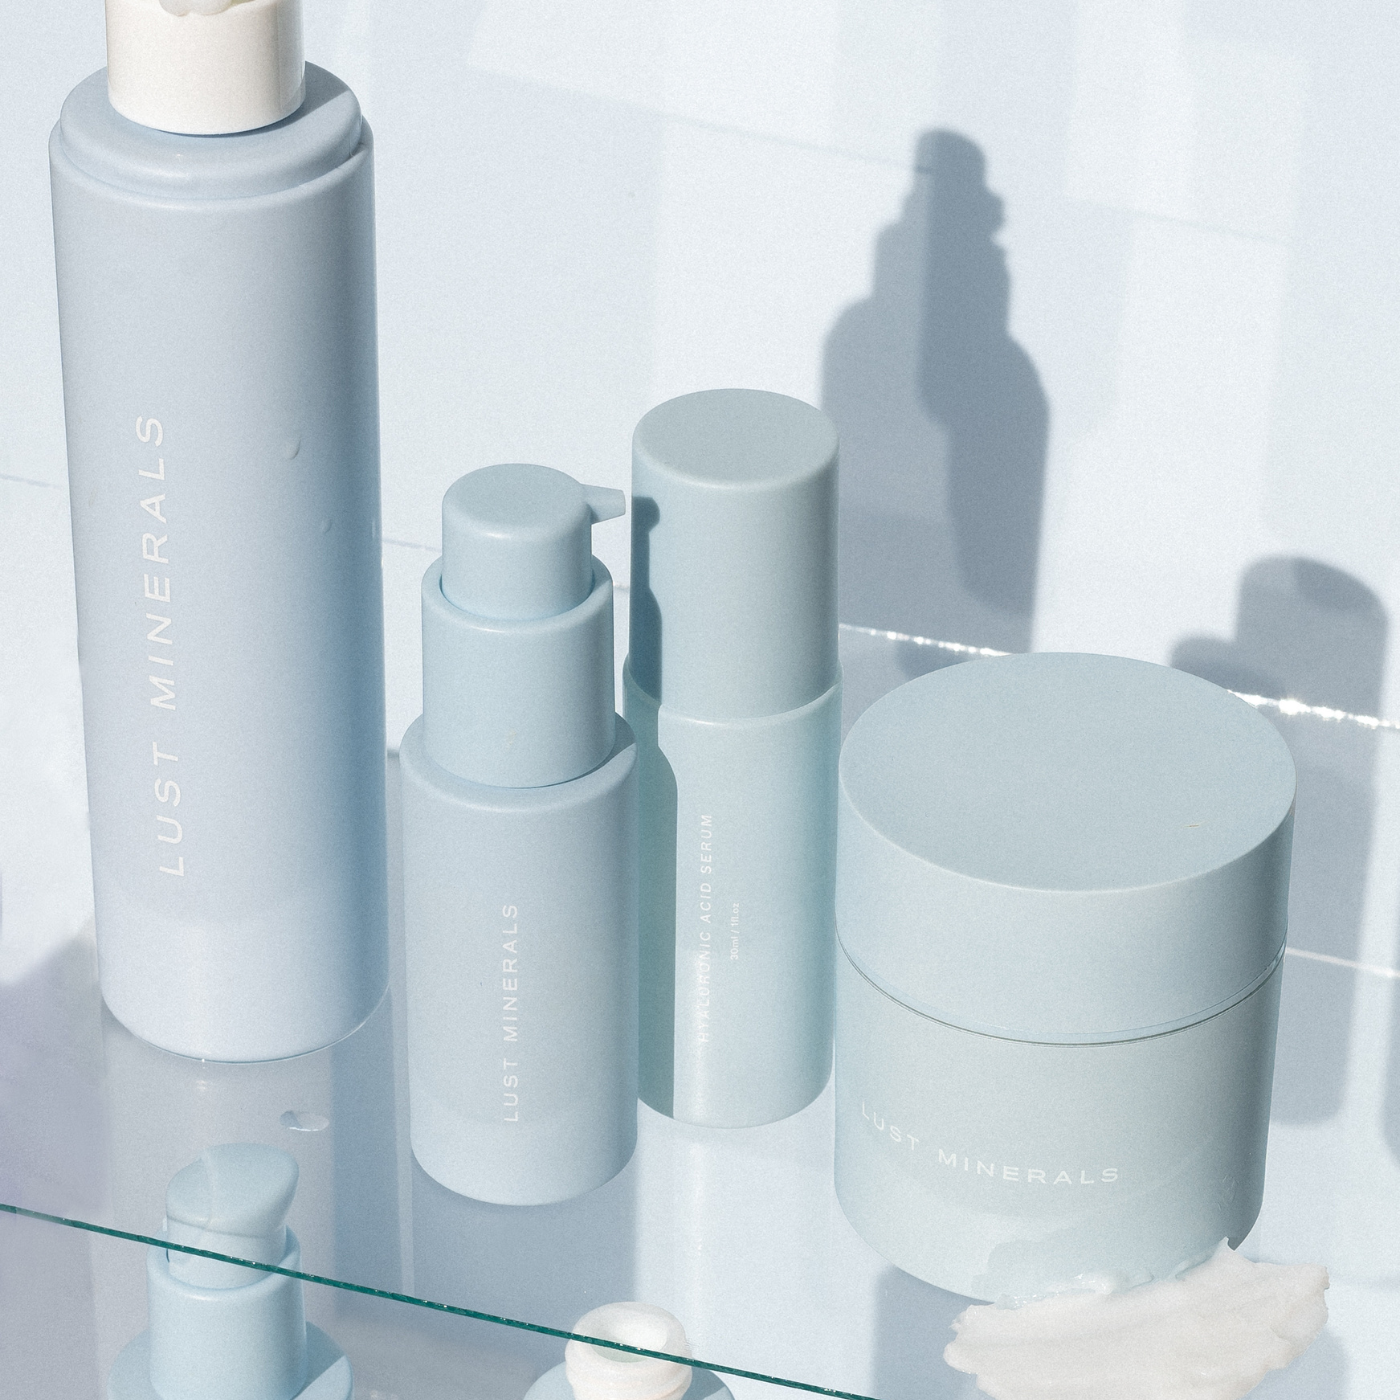
How to apply my serums before my makeup ?

Always apply your hyaluronic acid to damp skin and your Vitamin c Serums.
Dry - Normal Skin
Apply your Rejuvenation oil after Vitamin C (No moisturiser)
Combination - Breakout prone skin
Apply your moisturiser after Vitamin C (No rejuvenation oil)
PM - all skin types = Use all 3 serums

Note:
The Mineral Pressed Powder & Loose Powder Foundations are foundations and wont set your base. They are to add extra coverage, sweat resistance and SPF to your base.
The HD Setting Powder or setting powder 03 are the products that are designed to be used to set your base. They ensure your base doesn't move and assists in oil Control
P.s want a dewy look? Add your Liquid illuminator shade of choice in between step 4 and 5. Just remember babes, It has to be used in conjunction with either the Mattifying Gel Primer or Mineral Primer.
The tiniest change can make a massive difference